Why Press-On Nails are the New Go-To in 2025
- SkyeChanel

- Jan 3, 2025
- 4 min read
For years, getting my nails done at the salon was a ritual—a self-care moment that left me feeling polished and put together. But lately, it’s been a rollercoaster of frustration. Finding a reliable nail artist who delivers consistently beautiful results can be like searching for a needle in a haystack. Spending $100 (or more) on a set of nails, only to leave disappointed, became a hard pill to swallow.
That’s when I discovered the beauty of press-on nails, and let me tell you—they’ve completely transformed how I approach my nail game. Not only do they look almost identical to a salon set, but they’ve also saved me time, money, and endless stress.

Looking for press-on nails that look salon-worthy? Keep reading to discover my favorites, how I style them, and tips for application and removal. Don’t forget to scroll all the way down to shop these styles directly from my Amazon storefront!
Why I Made the Switch
My transition to press-on nails started as an experiment, but it quickly became my go-to solution. Here’s why:
1. Inconsistent Salon Experiences
I’ve had some incredible nail artists who left me obsessed with their designs, but finding someone reliable became harder and harder. There were times I left the salon with nails I didn’t love, despite spending hours in the chair and a hefty bill. It was frustrating and made me rethink the whole process.
2. Cost and Convenience
Salon nails can cost anywhere from $80 to $150 for a custom set, especially with intricate designs. While they’re beautiful, it’s hard to justify that expense every few weeks—especially when I could get similar results for a fraction of the price with press-ons.
3. Variety and Flexibility
One of the best parts about press-on nails is the sheer variety of designs available. I’ve found sets with over 100 options, ranging from minimalist chic to bold and artistic. And when I get tired of one look, I can easily pop them off and switch to something new in minutes.
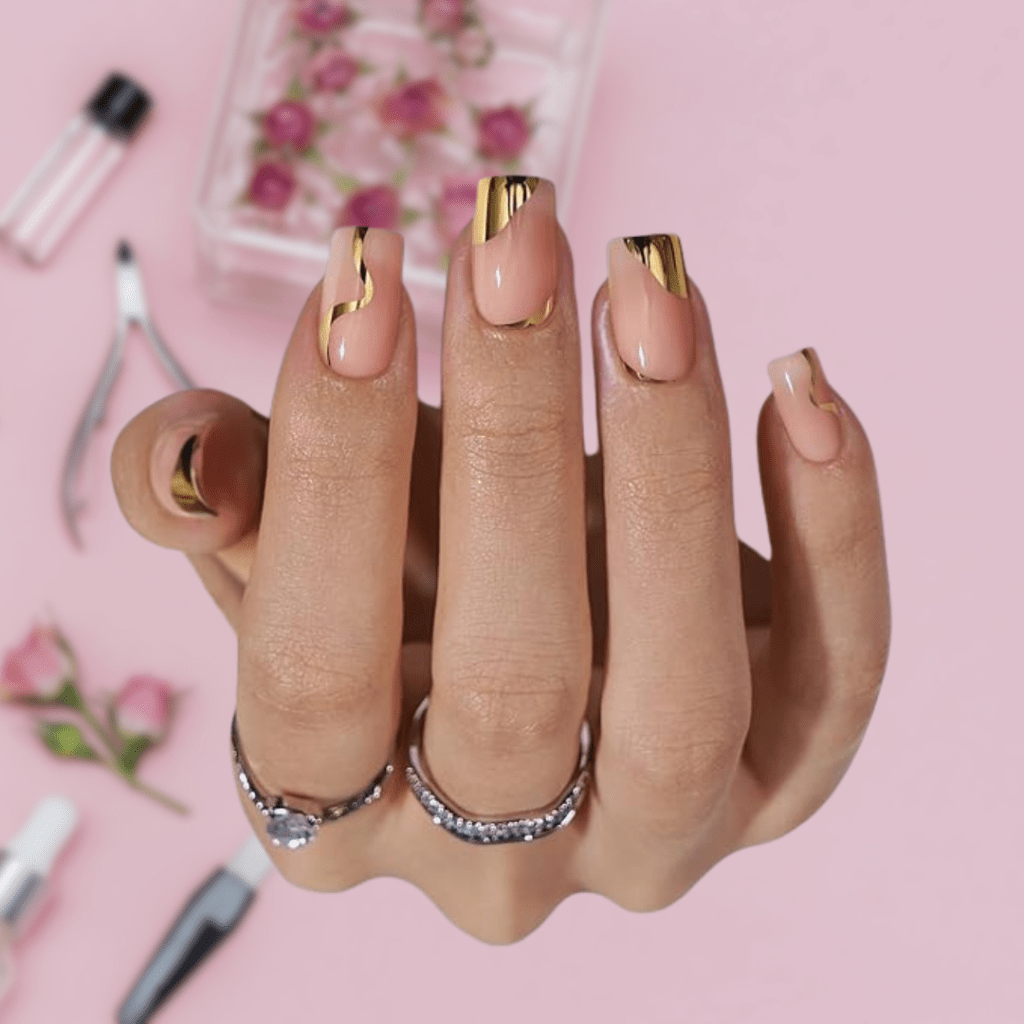
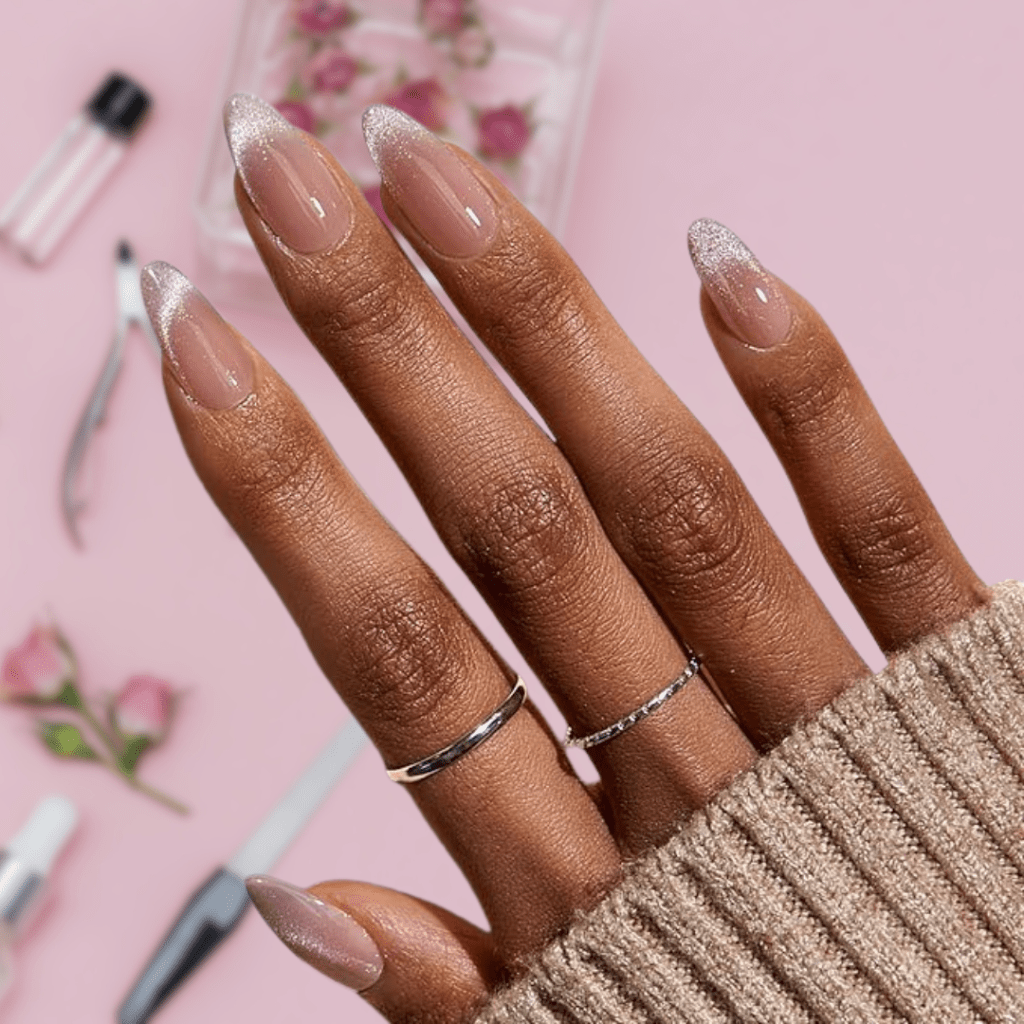
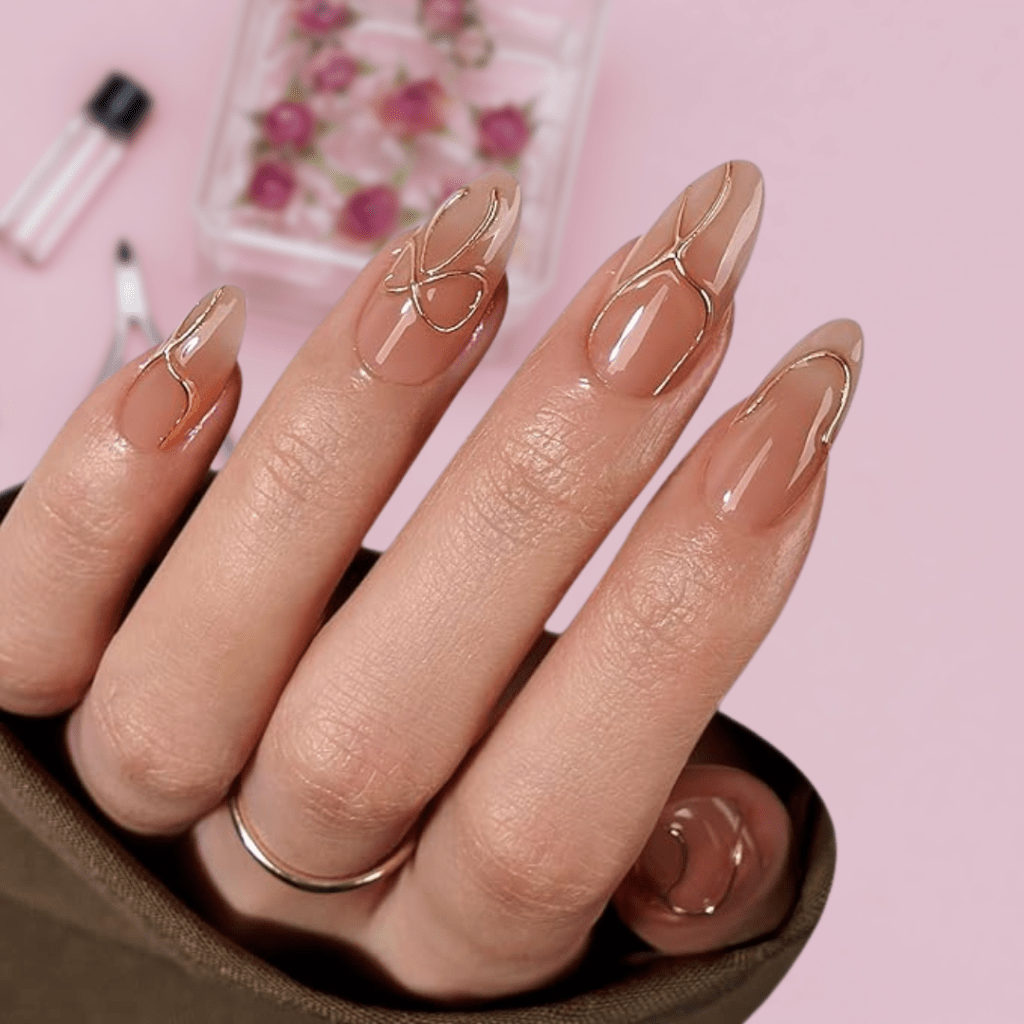
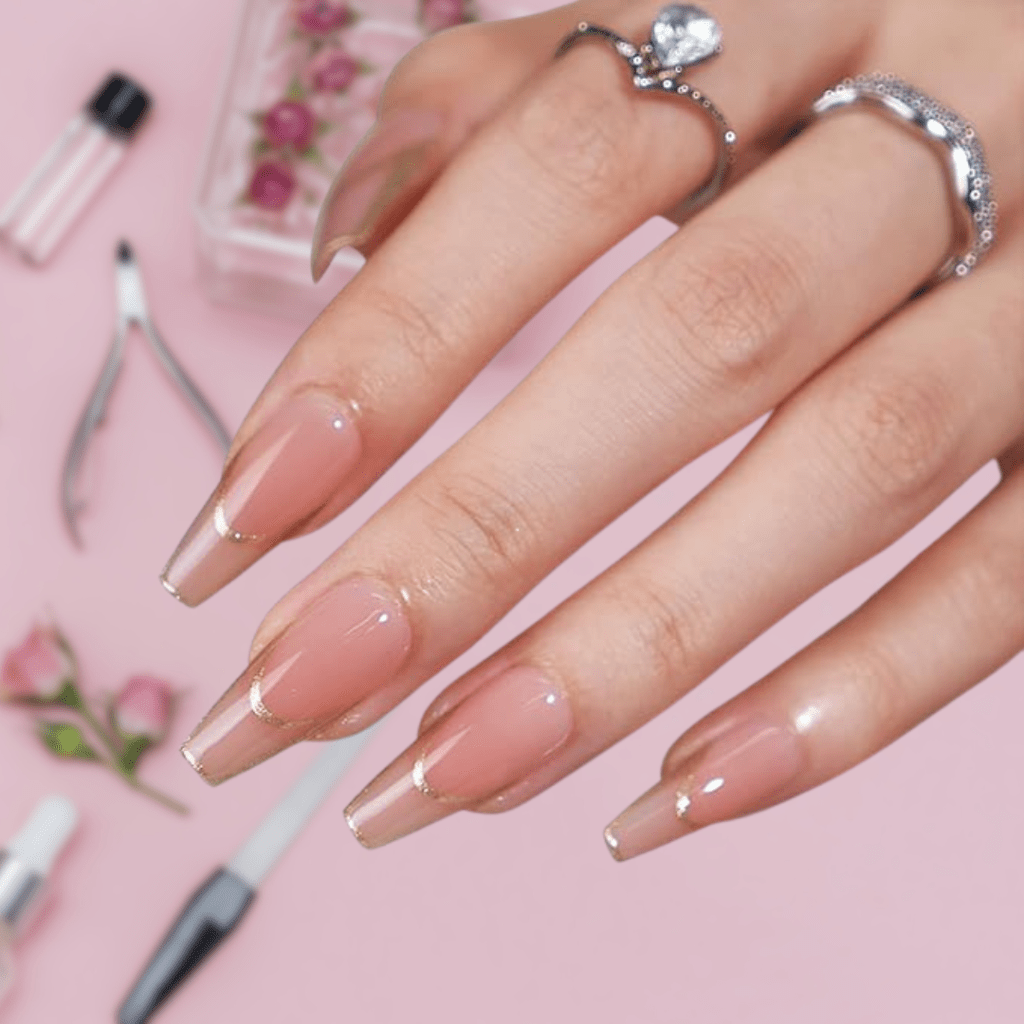
My Favorite Press-On Nails
After trying several brands and designs, I’ve found some incredible press-ons that look just as good as a salon set. Here are some of my top picks:
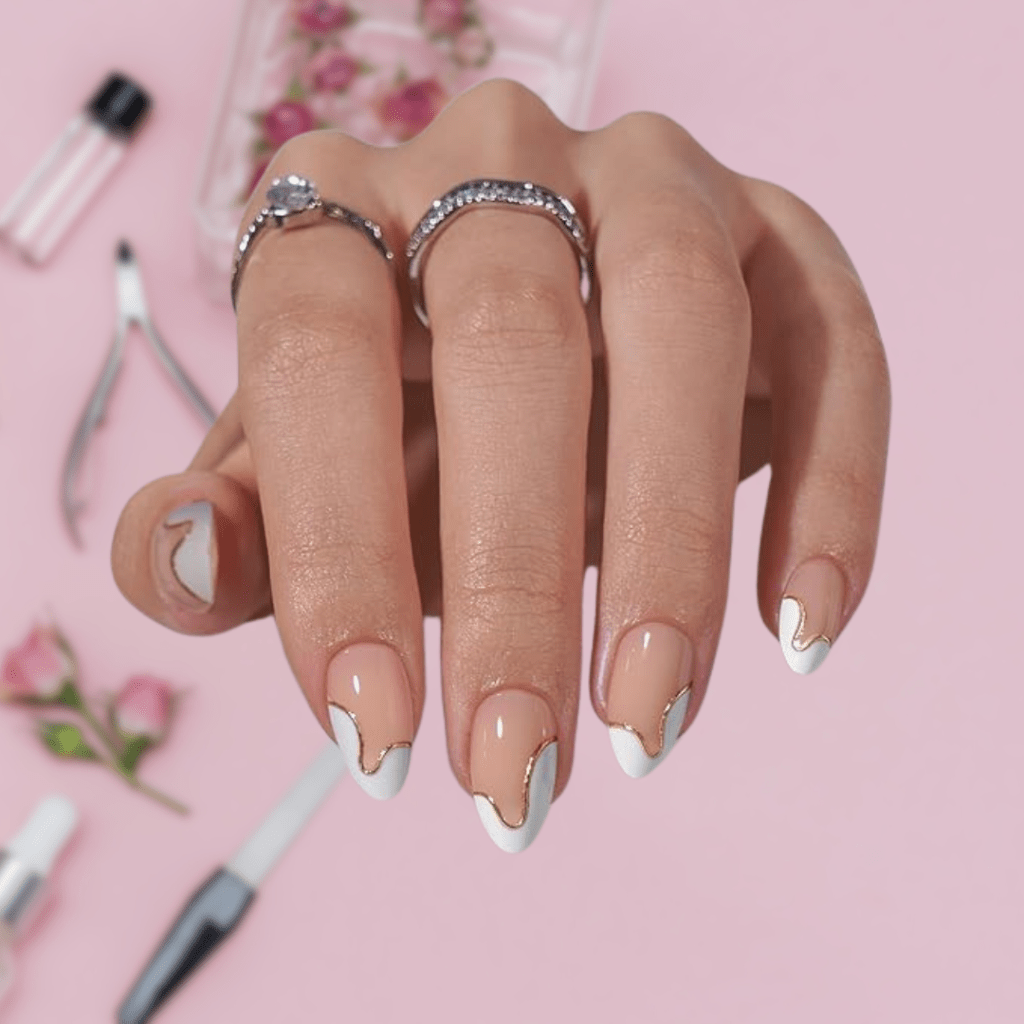
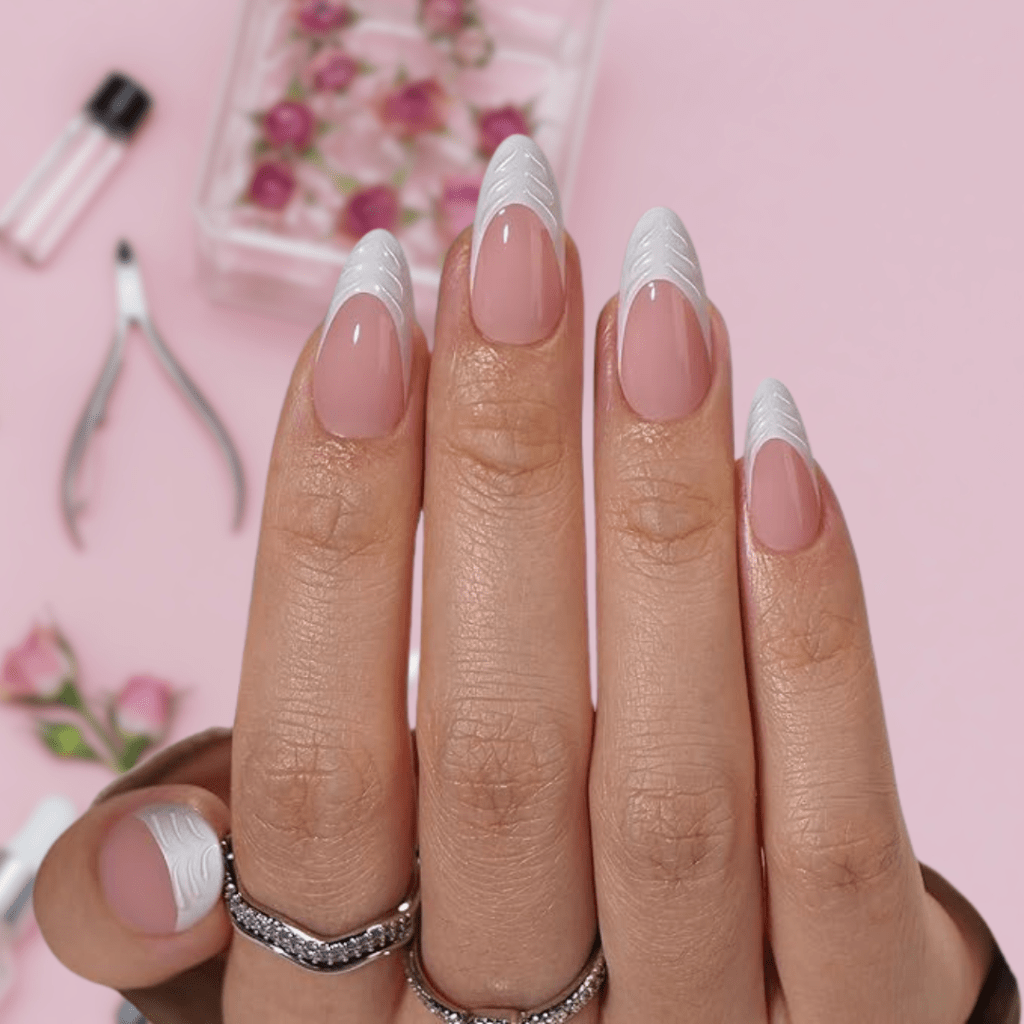
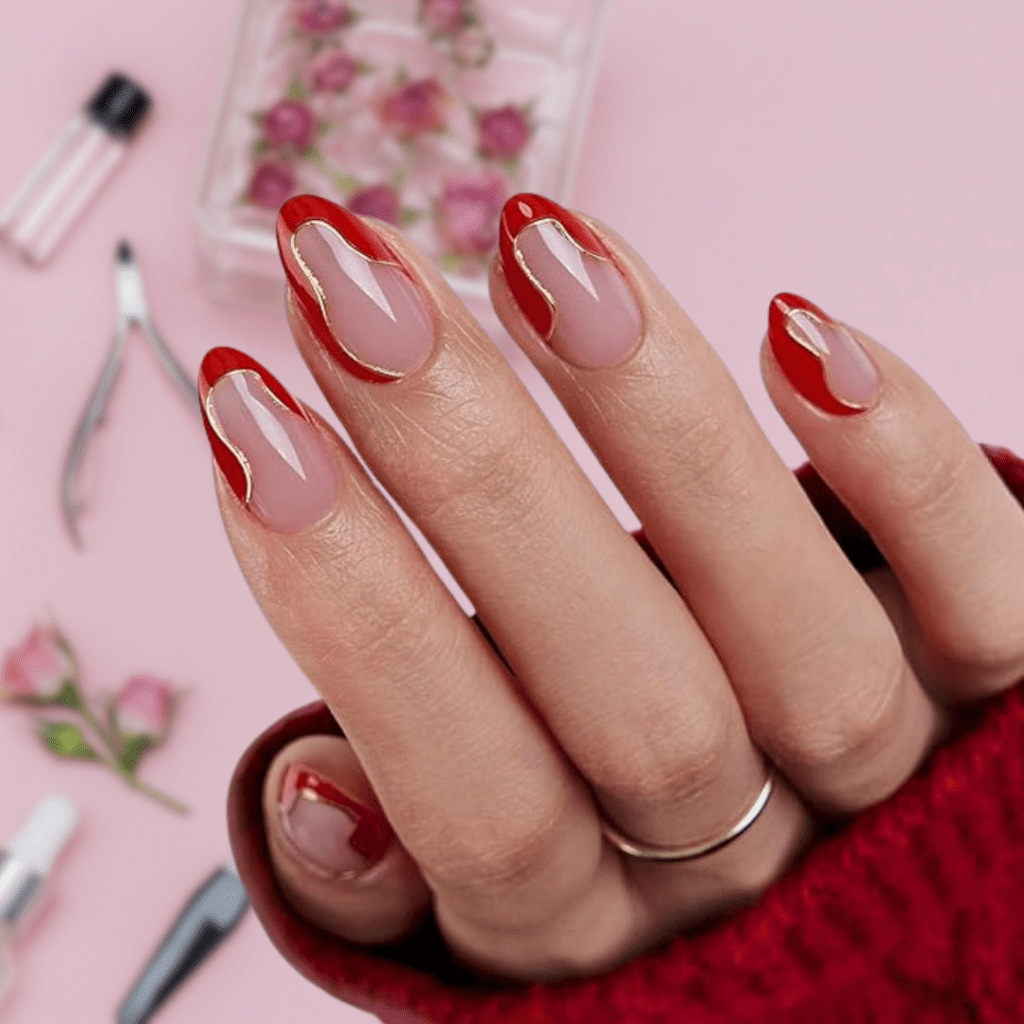
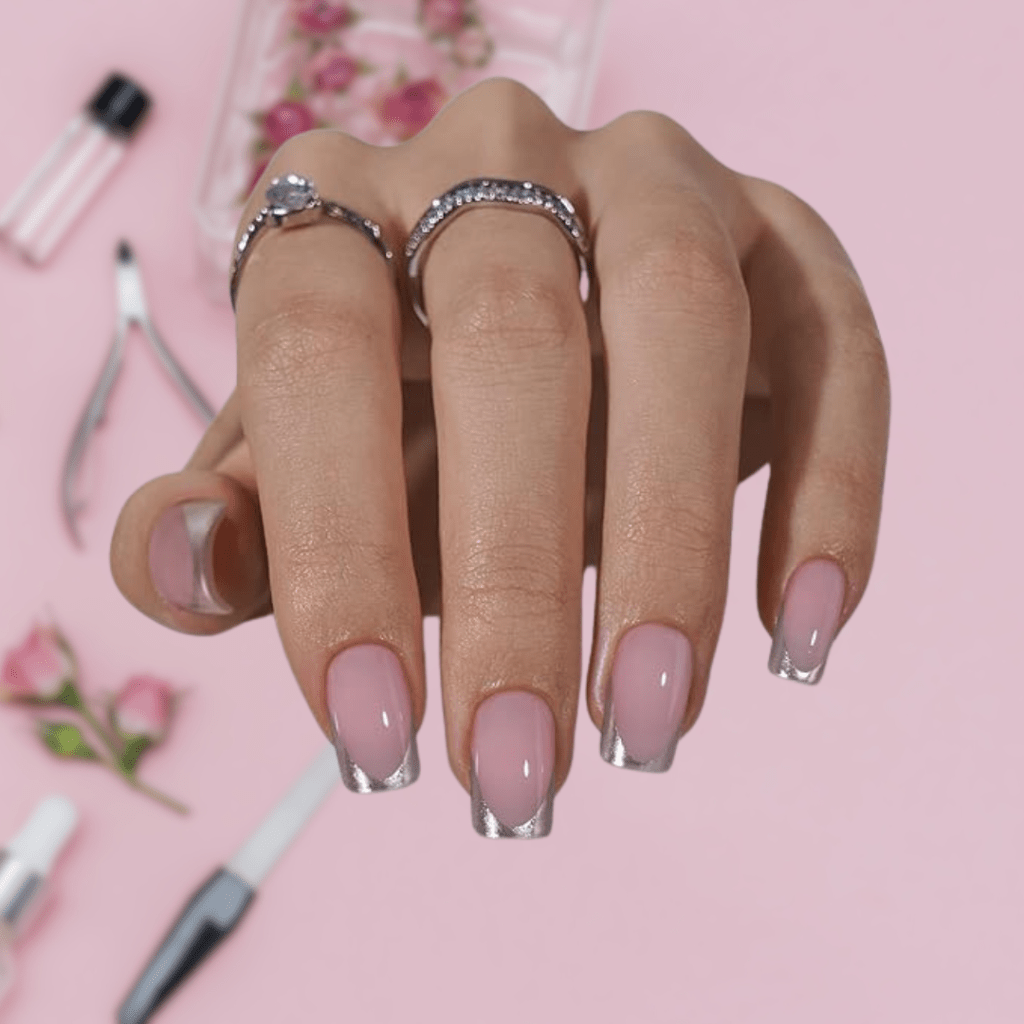
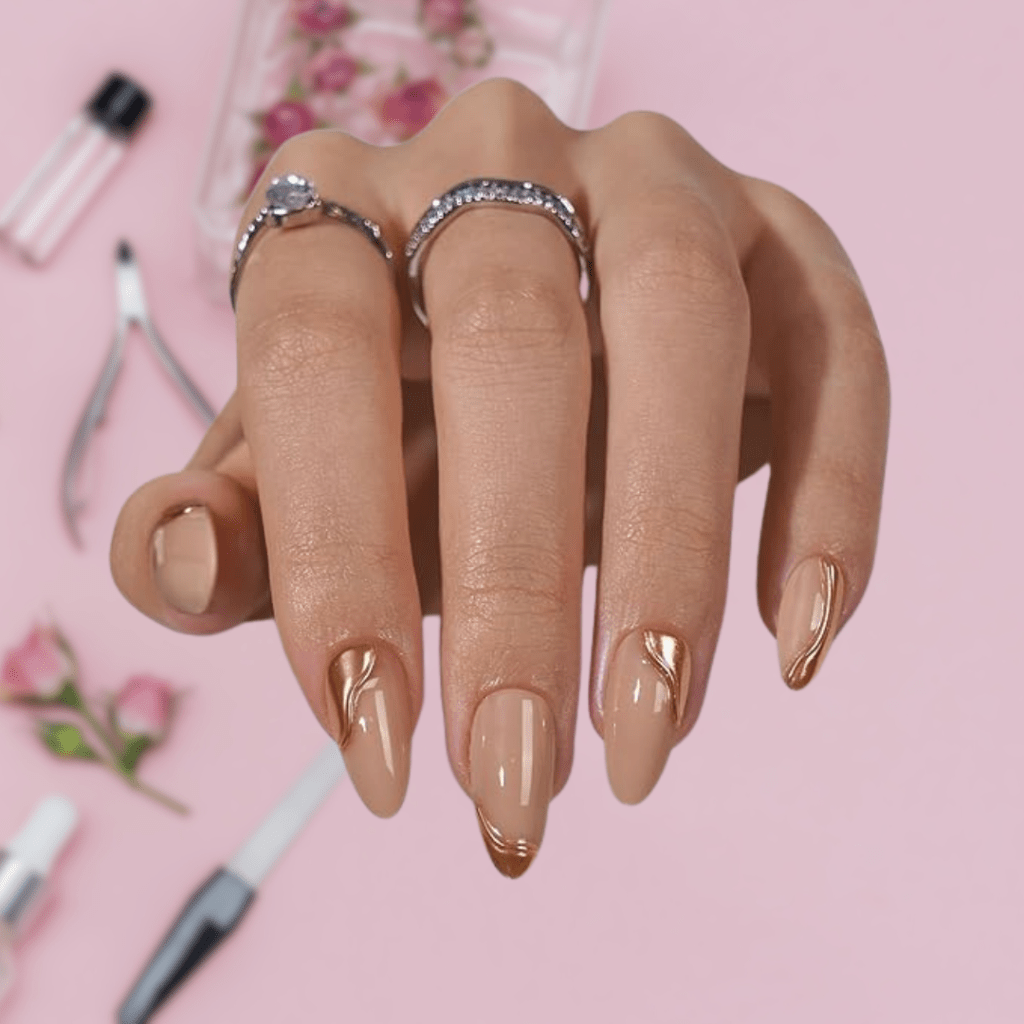
• Classic French Tips: A timeless look that works for any occasion.
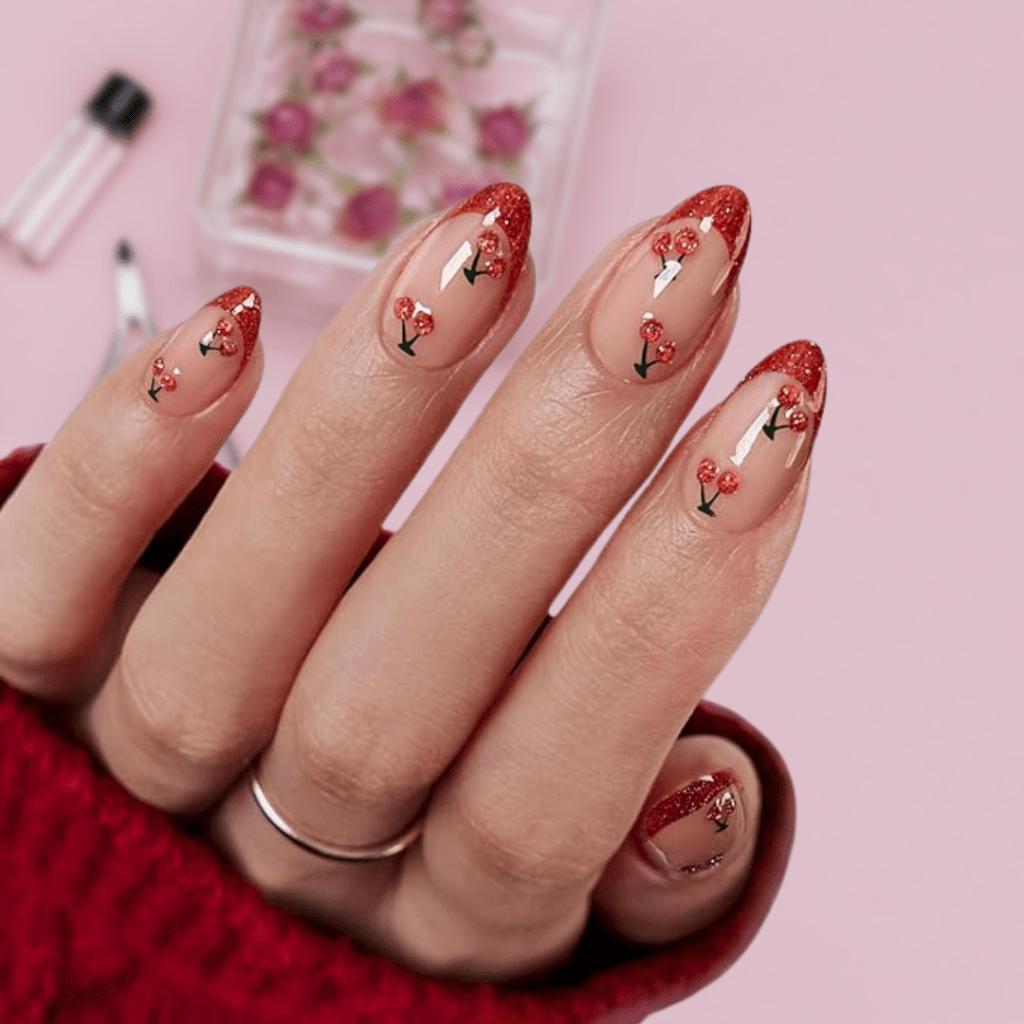
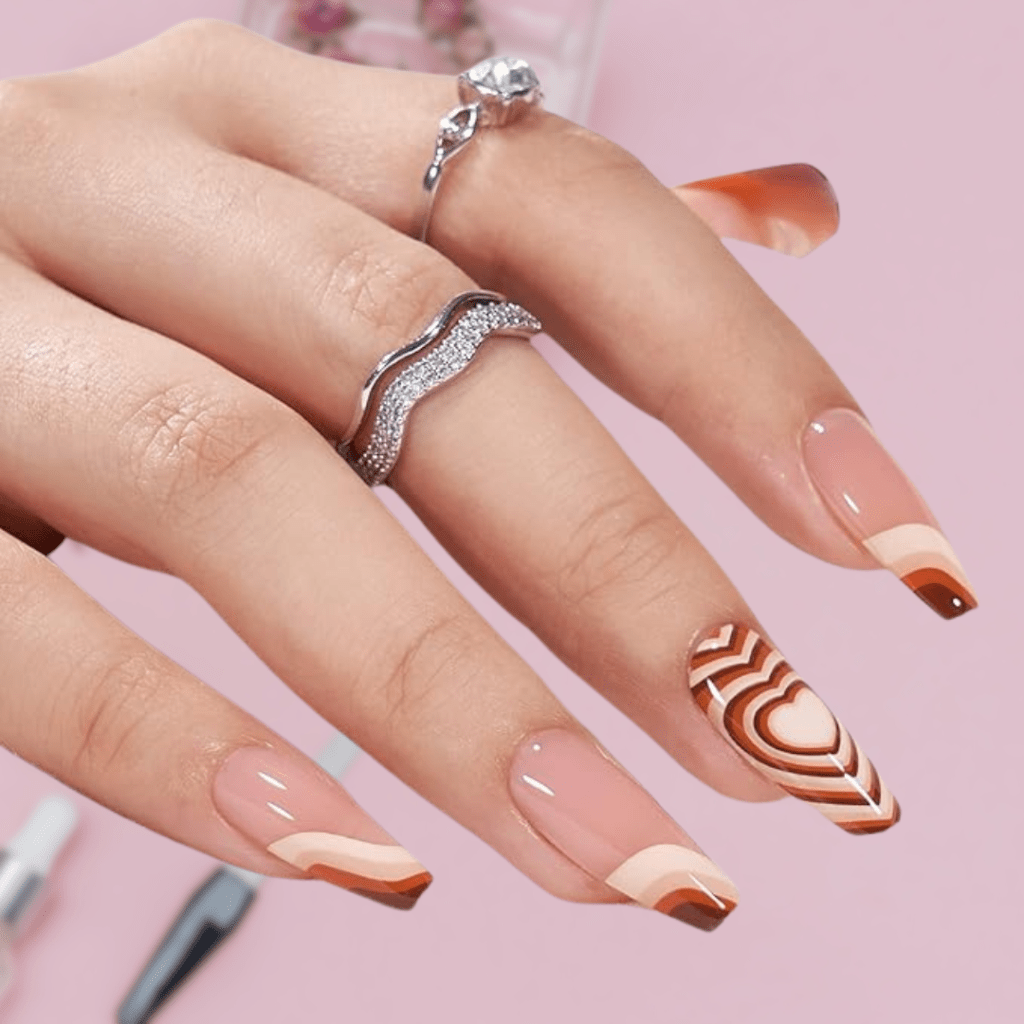
• Bold Designs: Think animal prints, metallics, and ombré styles for when you want your nails to make a statement.
• Minimalist Sets: Clean, neutral tones with subtle accents like gold lines or small gems.
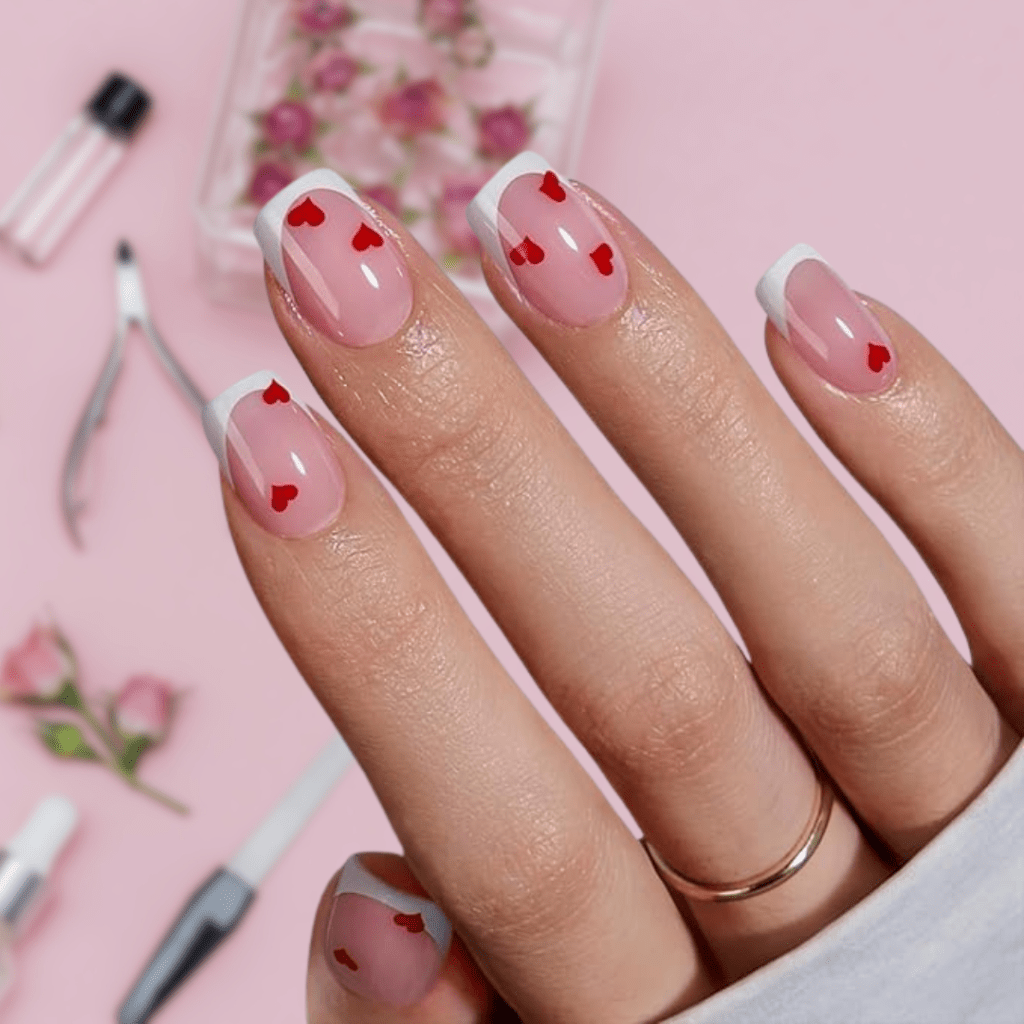
• Seasonal Favorites: Holiday-inspired designs, florals, and fun colors that match the season or event.
(Pro Tip: Pair your press-ons with cuticle oil and a good nail prep routine to make them look even more seamless!)
How to Apply and Wear Press-On Nails
If you’re new to press-ons, don’t worry—they’re super easy to use. Here’s my quick routine for a flawless application:
1. Prep Your Nails: Start with clean, dry nails. Gently push back your cuticles and buff the surface to create a smooth base.
2. Select the Right Size: Most press-on sets come with multiple sizes. Choose the ones that fit your nails perfectly.
3. Apply Adhesive: Use nail glue or the adhesive tabs that come with the set. I prefer glue for a longer-lasting hold.
4. Press and Hold: Align the press-on with your nail bed, press firmly for 30 seconds, and voilà—salon-worthy nails!
How Long Do They Last?
With proper prep and care, my press-ons last at least a week. And when I’m ready for a change, they’re easy to remove without damaging my natural nails.


Tip to Avoid Air Bubbles:
When applying press-on nails, apply a small dot of glue to both your natural nail and the back of the press-on. Align the nail carefully, press down firmly, and hold for 30 seconds to ensure a smooth, bubble-free application.
How to Remove Press-On Nails
Removing press-ons is quick and easy with the right method. Here’s how:
1. Prepare Your Soak: Mix warm water, a few drops of dish soap, and olive oil (or another oil of your choice) in a bowl.
2. Soak Your Nails: Submerge your hands for 5-10 minutes to loosen the adhesive.
3. Gently Remove: Once the nails lift at the edges, gently peel them off. If they resist, soak for a few more minutes.
4. Tackle Stubborn Glue: Use acetone for any remaining residue and buff gently.
5. Moisturize: Finish with cuticle oil to keep your nails hydrated and healthy.
This simple process keeps your nails strong and ready for your next stunning set!
Why I’m Hooked on Press-Ons
Making the switch to press-ons has been a game-changer. Here’s why I’m never going back to regular salon visits:
• Affordability: Most sets cost under $15, making them an accessible option for anyone.
• Flexibility: I can change my nails to match my outfit, mood, or occasion without feeling guilty about the cost.
• Quality and Variety: With so many beautiful designs, I never feel like I’m missing out on salon trends.
Are Press-Ons Right for You?
If you’re tired of inconsistent salon experiences or simply looking for a budget-friendly alternative, press-on nails might be your new best friend. They’re easy to use, offer endless design options, and give you the freedom to experiment with your style—all without the hefty price tag.
Ready to try them out? Click the link to browse and shop all my favorite press-on nail designs directly from my Amazon storefront. From classic French tips to bold, statement styles, you’ll find everything you need to elevate your nail game! <Shop=">Shop" Now="Now</a></strong>">

Comments